
In January (yes, three and a half months ago and I’m just now getting around to posting about this), Jack celebrated his 2nd birthday. If you missed it, I did a quick picture montage. Boy, I love that kid.
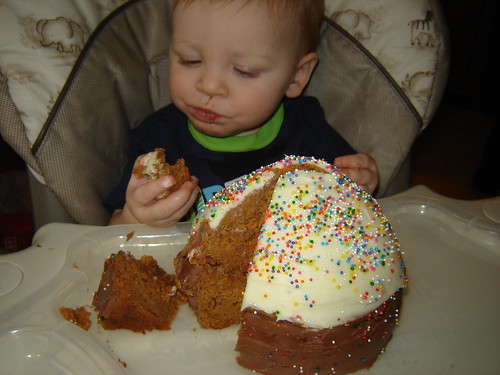
Last year for his birthday, I made a cupcake shaped ‘healthy’ cake. It was a carrot and raisin cake with cream cheese icing. He really loved it, but no one else liked it at all. Luckily I made regular chocolate and white cakes for the adults.
This year, Rick and I decided to be brave and create a train cake. Jack LOVES trains. He loves all planes, trains, cars, trucks, and construction machines. We decided to go with a train cake because he seemed to love those the most (that week) and the idea of how to make it happen was in both of our heads.
First, I must tell you that there are much easier ways to make a train cake. The smaller you make it, the easier it is. We did not make it small. No way. We took the BIG BOY TRAIN route. Here’s what we did:
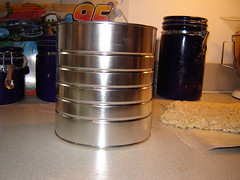
We used a coffee can for the boiler part of the engine and cake pans for the engine cab and coal car. The coffee can we used had a lip on it, and by luck, I found that the Pampered Chef can opener took the lip right off so the cake could slide right out.
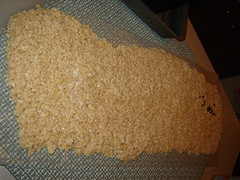
We used rice krispie treat for the bed or gravel part of the tracks. It took about 2 and a half batches. Then we laid the black licorice ties down.
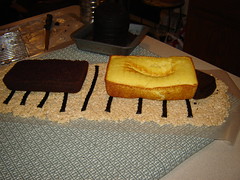
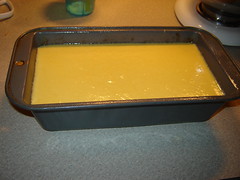
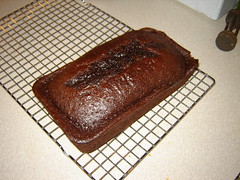
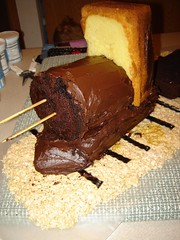
We started assembling the cakes on the track, but we found that the yellow cake we baked didn’t cook in the middle, so we had to throw that out and bake another cake instead. We were up pretty late the night before his party baking and assembling this thing.
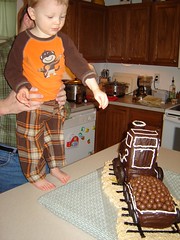
Finally, we started assembling the train. (One of his toy trains –my toy from when I was a child- was the model)
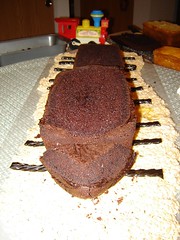
We cut one cake in half to make the base of the engine and the coal car. We then placed the round cake on top of the cut cake. It sat there perfectly, so I didn’t secure it with anything. We also added a cow catcher in the front with a scrap piece of cake.
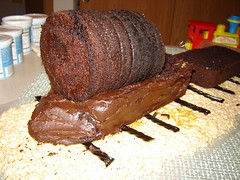
Then we sat another rectangular cake upright behind the round cake as the cab. We secured that with skewers.
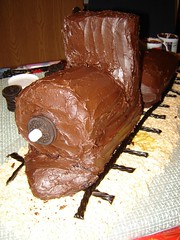
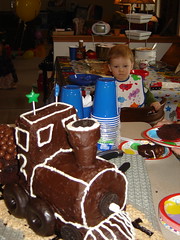
Then the icing went on. It was a lot of icing! We added an Oreo and mini marshmallow on the front as the light. At this point, we added the rails to the bed.
Finally, we added donuts and more Oreos as wheels, Whoppers as coal, and we piped some detail to make the train come to life.
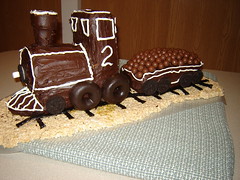
We used an ice cream cone as the smoke stack. I put an Oreo on the top to hide the inside of the cone and some white icing to represent smoke and to keep the cookie glued on.
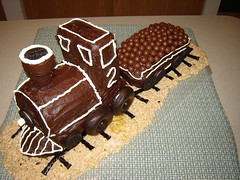
When Jack woke up the next morning and saw the cake, he yelled “TRAIN!” He loved it. After all the hours we spent on that cake (and little sleep we got because of it), it was totally worth it to see how happy he was to see his cake. He could name every part of the cake that we knew was important to have on a train cake – smoke stack, coal car with coal, cab, wheels, and rails. He really loved it.
It was a big hit at his party too. Everyone oo’ed and ahhh’ed over it. We were very proud of it.
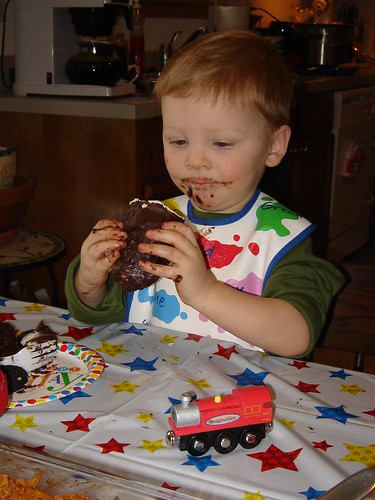
After everyone had been served, we ended up only having to cut into the coal car. The rest was left over for us to eat throughout the week. It was a good thing too, since the round cake might not have been cooked all the way through after all. Of course, that didn’t stop Daddy from eating it!
Jack ended up not eating anything but cake for lunch that day. And the smoke stack was his very favorite part.
This is amazing! I love the pictures especially since you showed the step by step. I love your creativity. I might steal your idea though :)
ReplyDeleteThis is A.M.A.Z.I.N.G!
ReplyDeleteSuch creativity!